FAKRO light tunnels
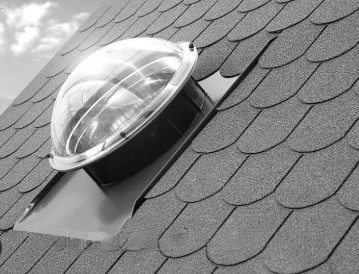
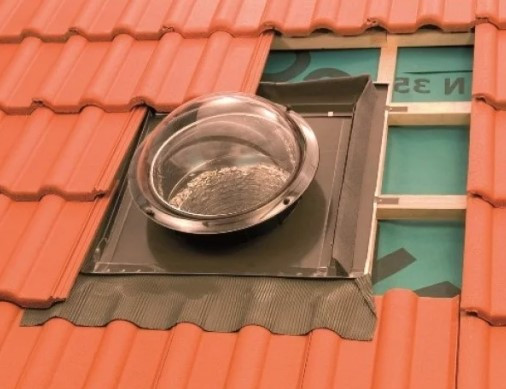
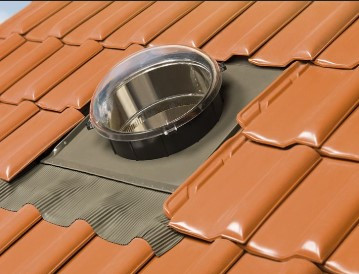


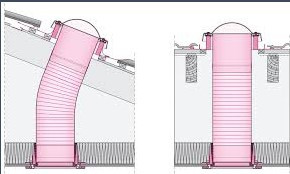


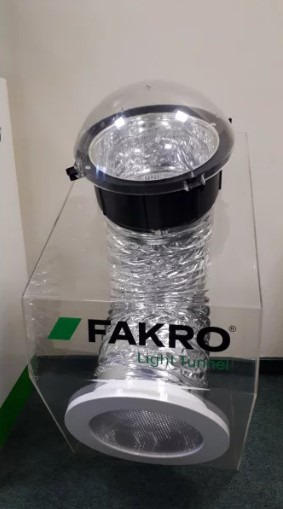
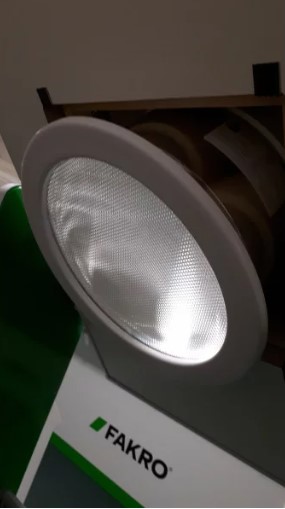
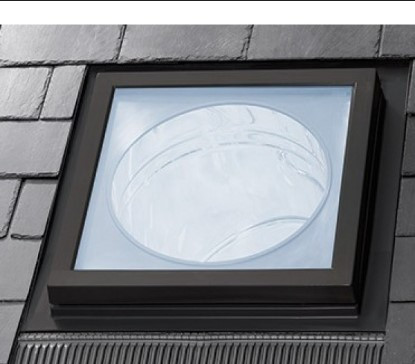
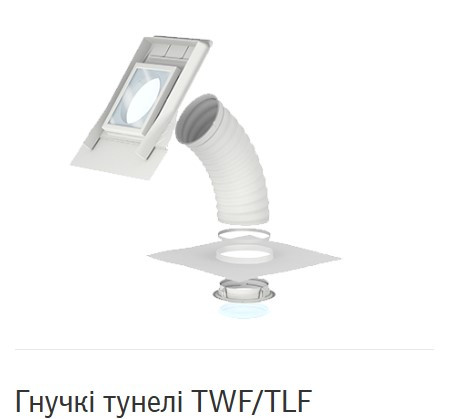
The construction of the Fakro SLT light tunnel is installed in the roof, just like the Fakro skylight. The daylight tunnel is arranged as follows: through a dome built into the roof, daylight enters a light-reflecting soft corrugated pipe, which ends at the other end with a light diffuser and a ceiling lamp. Due to the presence of a diffuser, the ceiling room is evenly illuminated by daylight. The light tunnel consists of the following elements: a dome, a sealing collar, a reflective pipe (2.1 m long), a prismatic transparent diffuser and a decorative frame. The use of a flexible reflective pipe allows you to easily bypass potential obstacles. The maximum permissible length of a reflective pipe with a diameter of 350 mm is 400 cm, and with a diameter of 550 mm - 600 cm (more than 500 cm, you need to use tensioners). A ceiling lamp with a diameter of 35 cm is mounted in the ceiling.
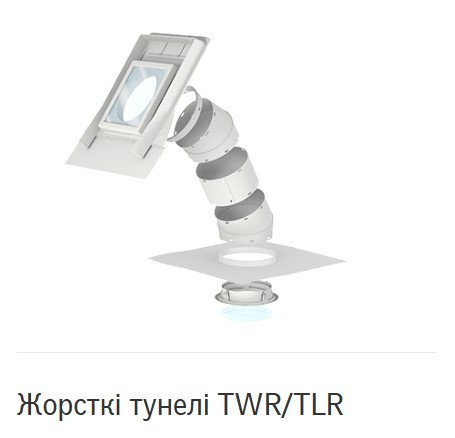
Dome light tunnel with a flexible SFD reflective tube
SFD-_with flexible reflective pipe.
SFD-_/L with flexible reflective pipe and with wider elements for additional natural lighting of the room directly under the place of installation of the light tunnel.
Installation of FAKRO daylight tunnels
The first stage installation of daylight tunnels is preparation and calculations. In order to calculate the area of the area that needs to be glazed, you can use the formula: 10 m² of floor should be illuminated by one tunnel.
The second stage it is necessary to prepare an opening. Mark the locations of the light tunnels on the waterproofing film. It is necessary to cut the waterproofing crosswise, taking into account 10-25 centimeter strips. Turning them outwards, screw them to the frame or to the crate. Also put a waterproofing gate.
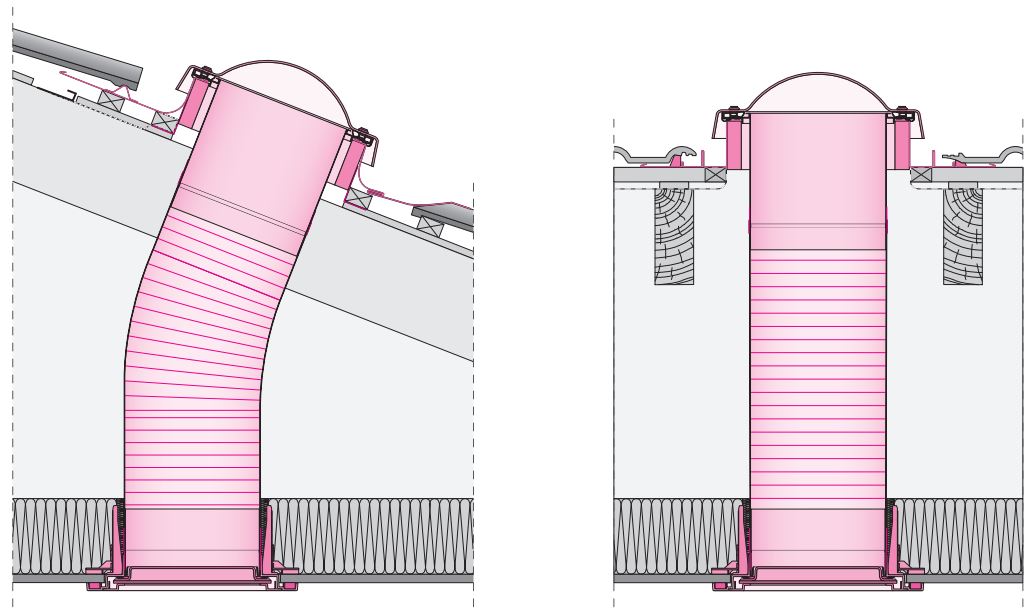
Third stage consists of installation. The upper part of the light tunnel is mounted in the opening on the roof, while the lower part is mounted in the room, and they are connected by an aluminum pipe, which is fixed with fasteners.
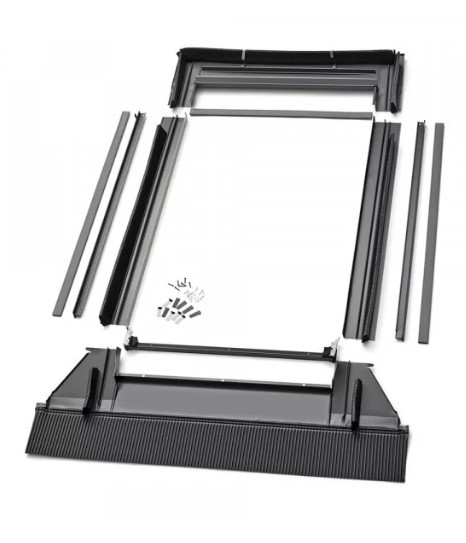
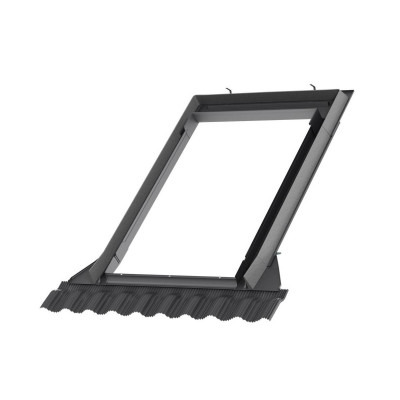
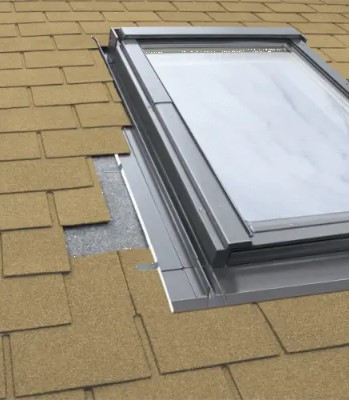
Fourth stage consists in installing a sealing collar. Ego must be installed around the perimeter of the tunnel; on one side it is attached with a stapler, on the other side of the box - it is wound under the crate.
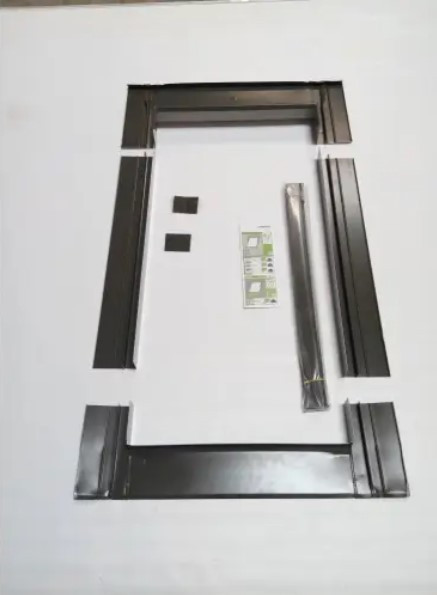
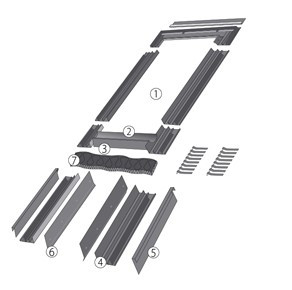
Fifth stage the last one consists in installing and fixing the salary. The salary is installed in the following sequence: first the lower corrugated gate, then the side elements, then the upper part of the salary. The final stage is the installation of overlays. It is necessary to mount the salary exclusively according to the instructions.
Unit of measurement | pcs. |
Remote control | No |
Coating | Polyurethane |


Help other users with the choice - be the first to share your opinion about this product.